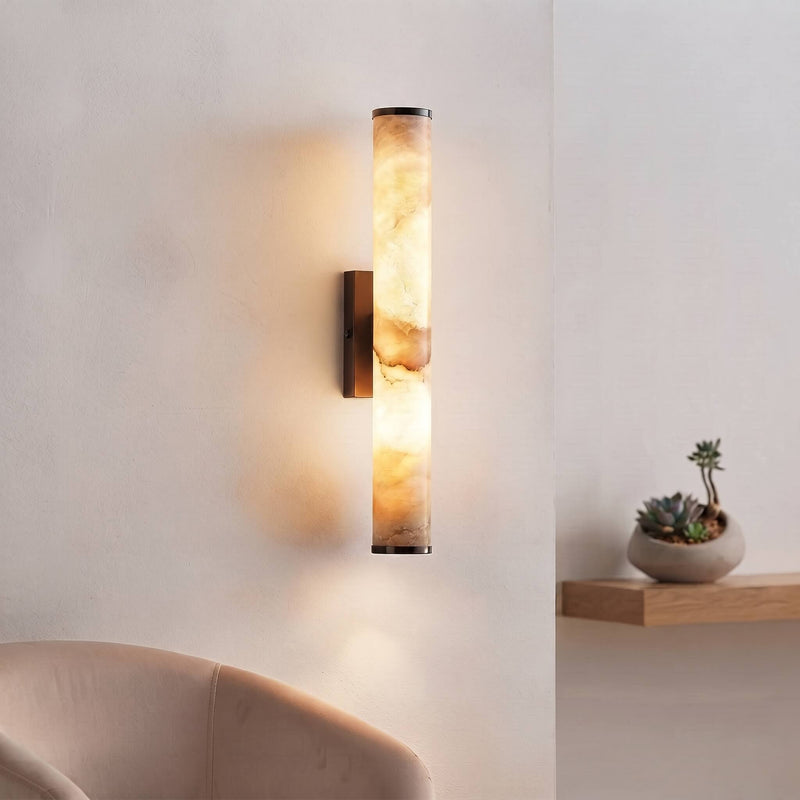
Wabi-Sabi Travertine Stone Wall Lamp with Walnut Bracket
-
Free shipping Australia Wide
-
30-day easy returns
-
Secure Checkout
The bedside light that makes a room feel like it was designed, not just furnished.
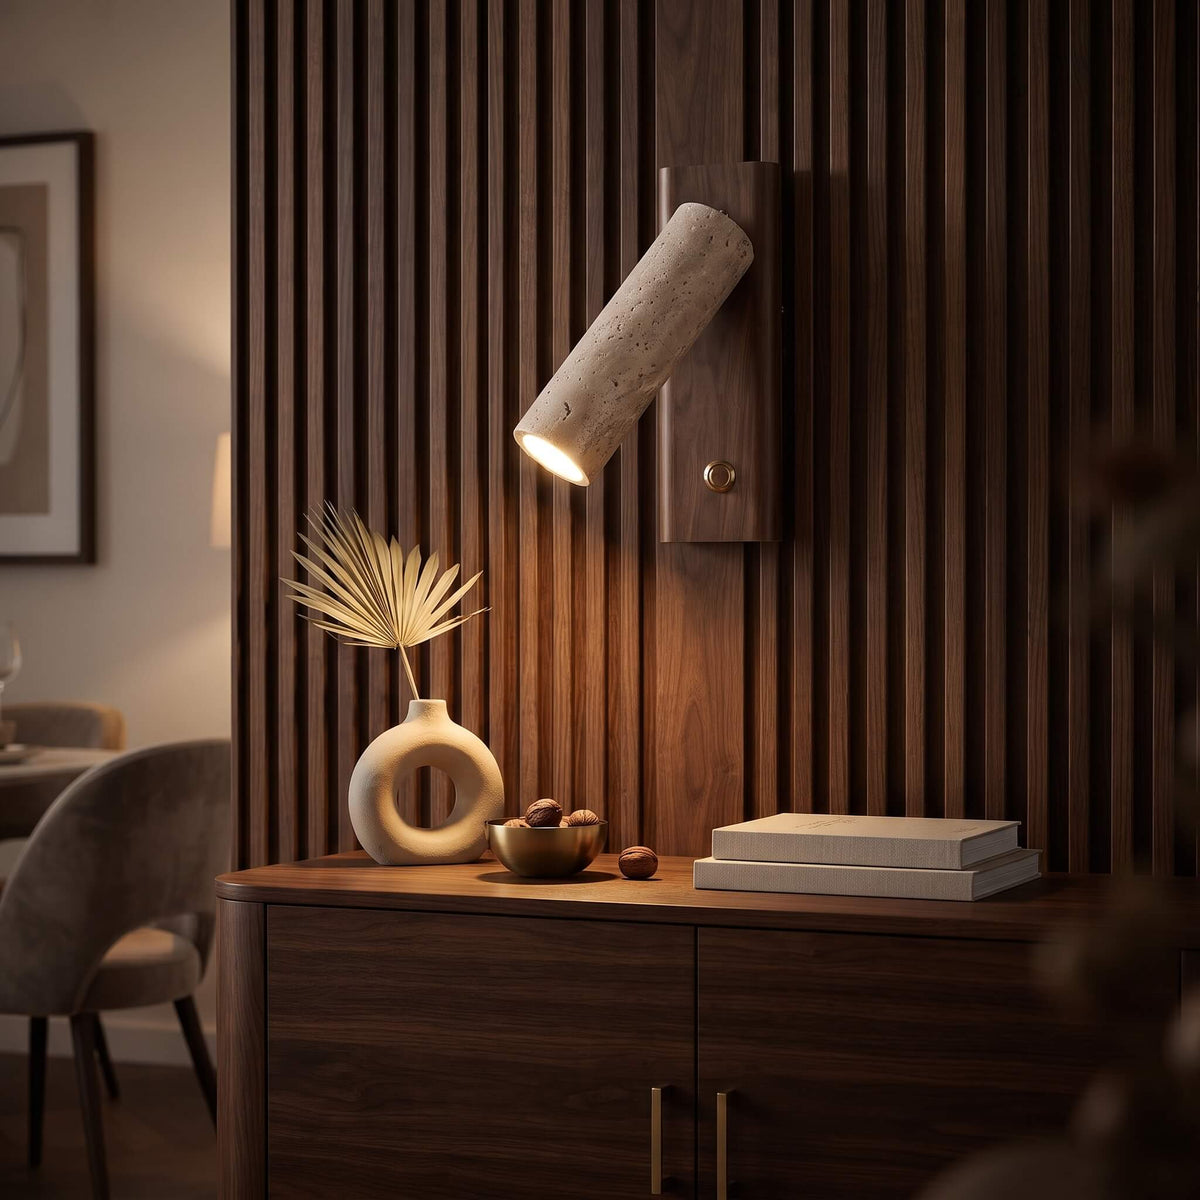
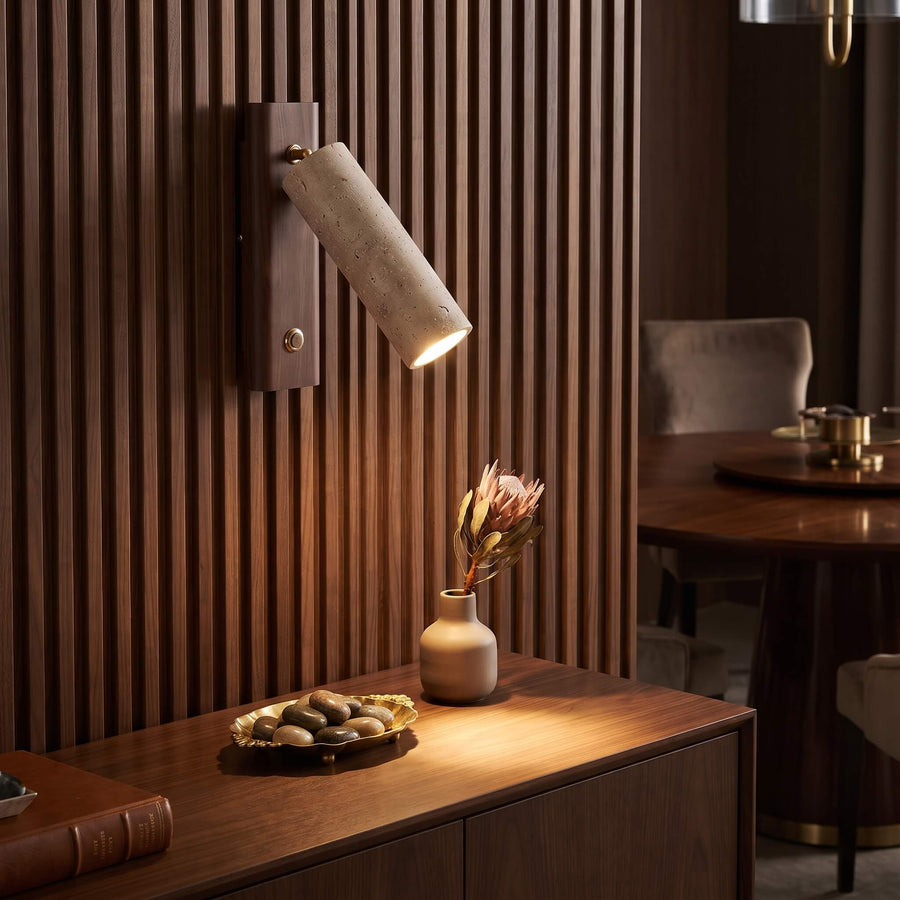
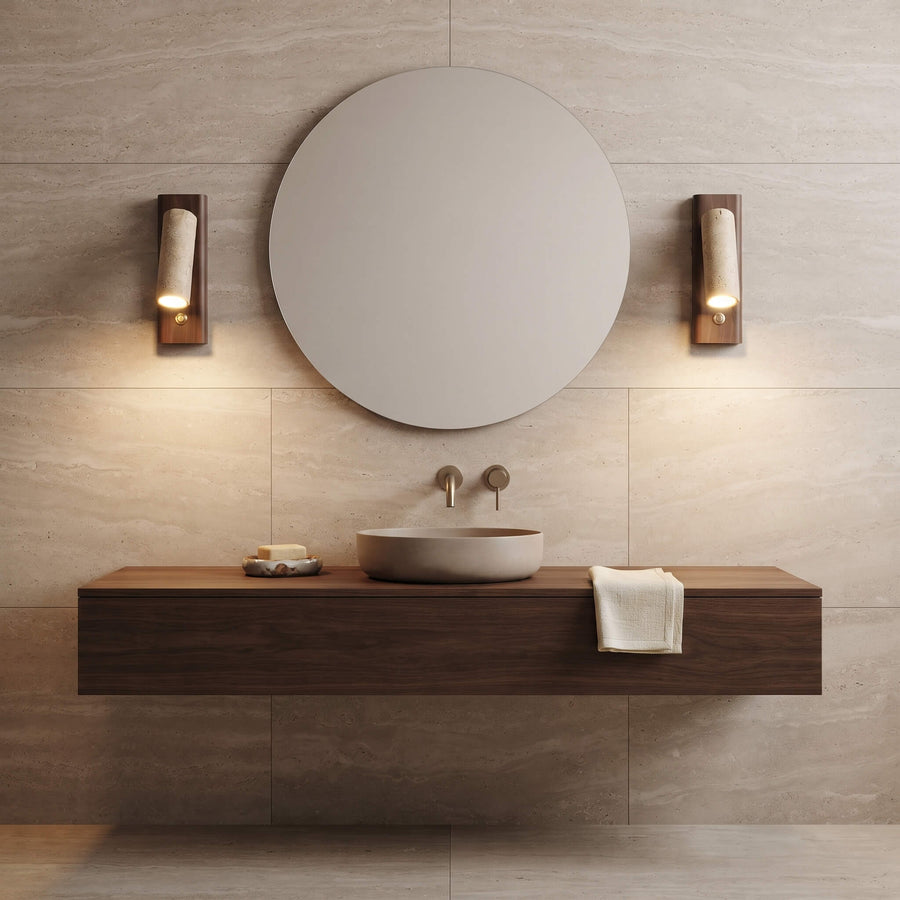
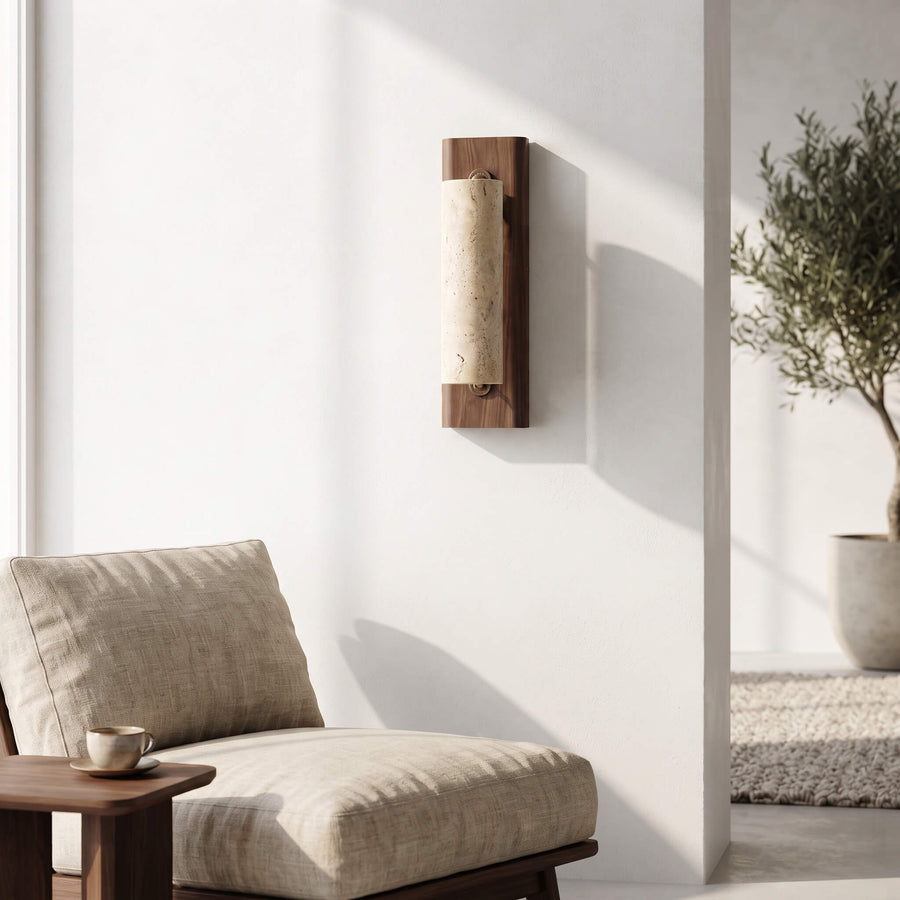
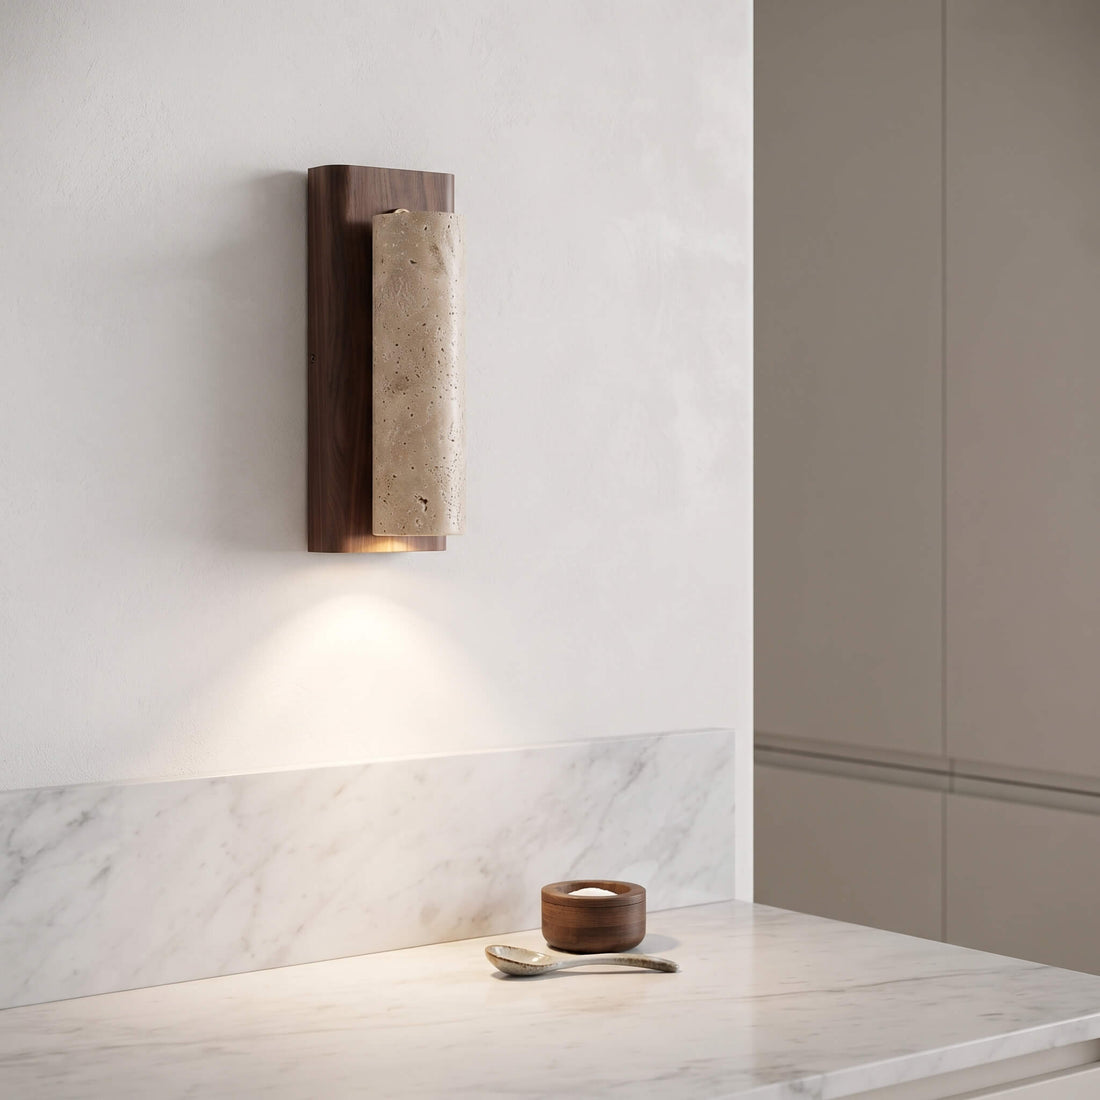
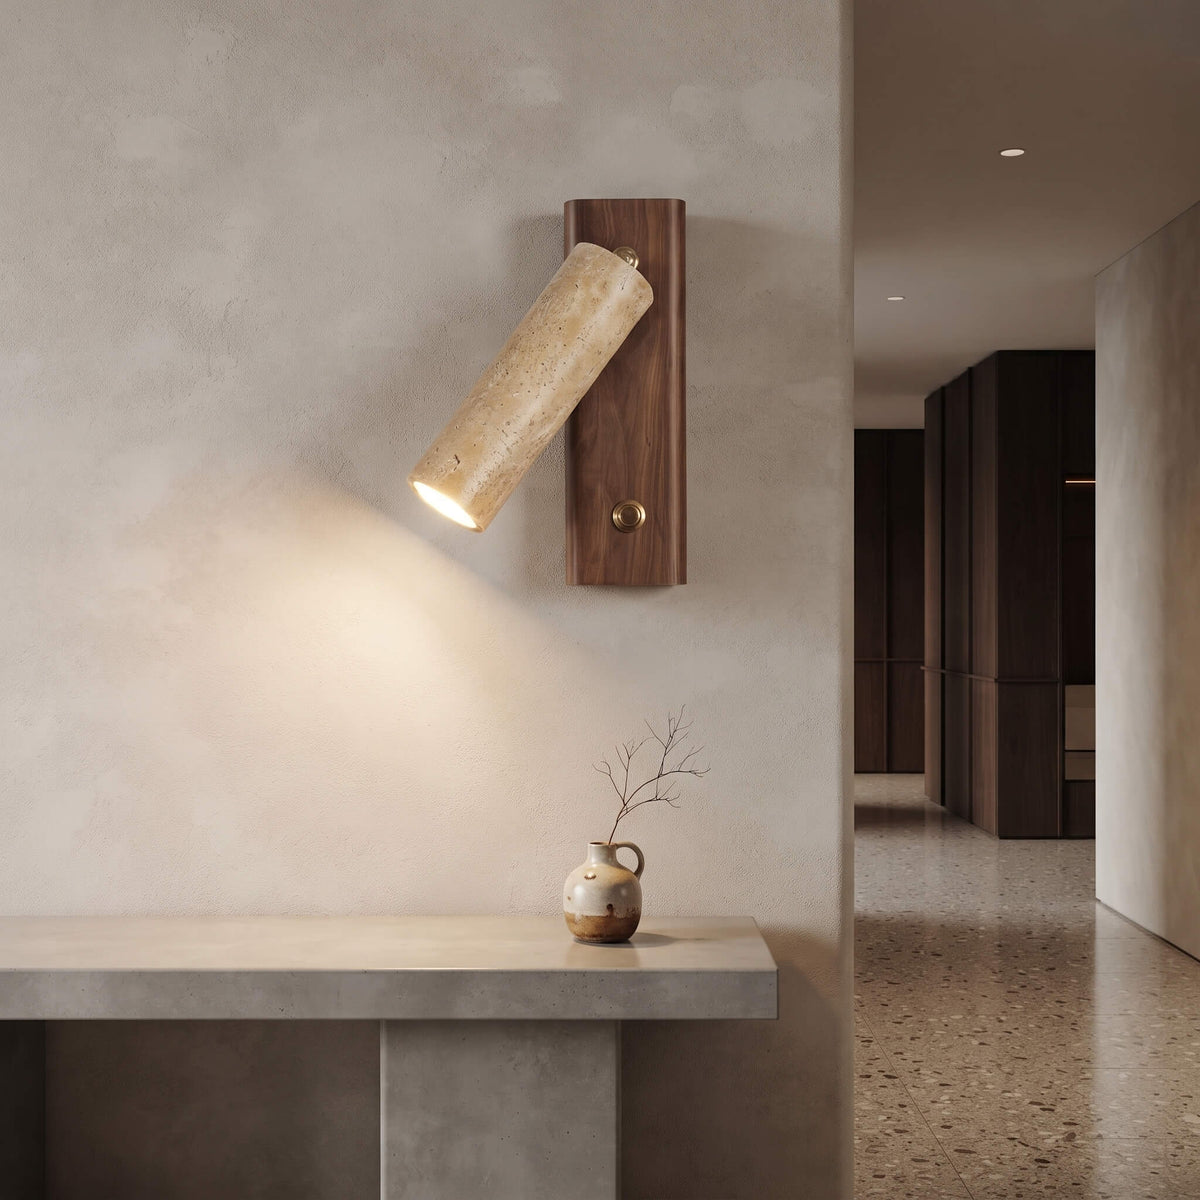
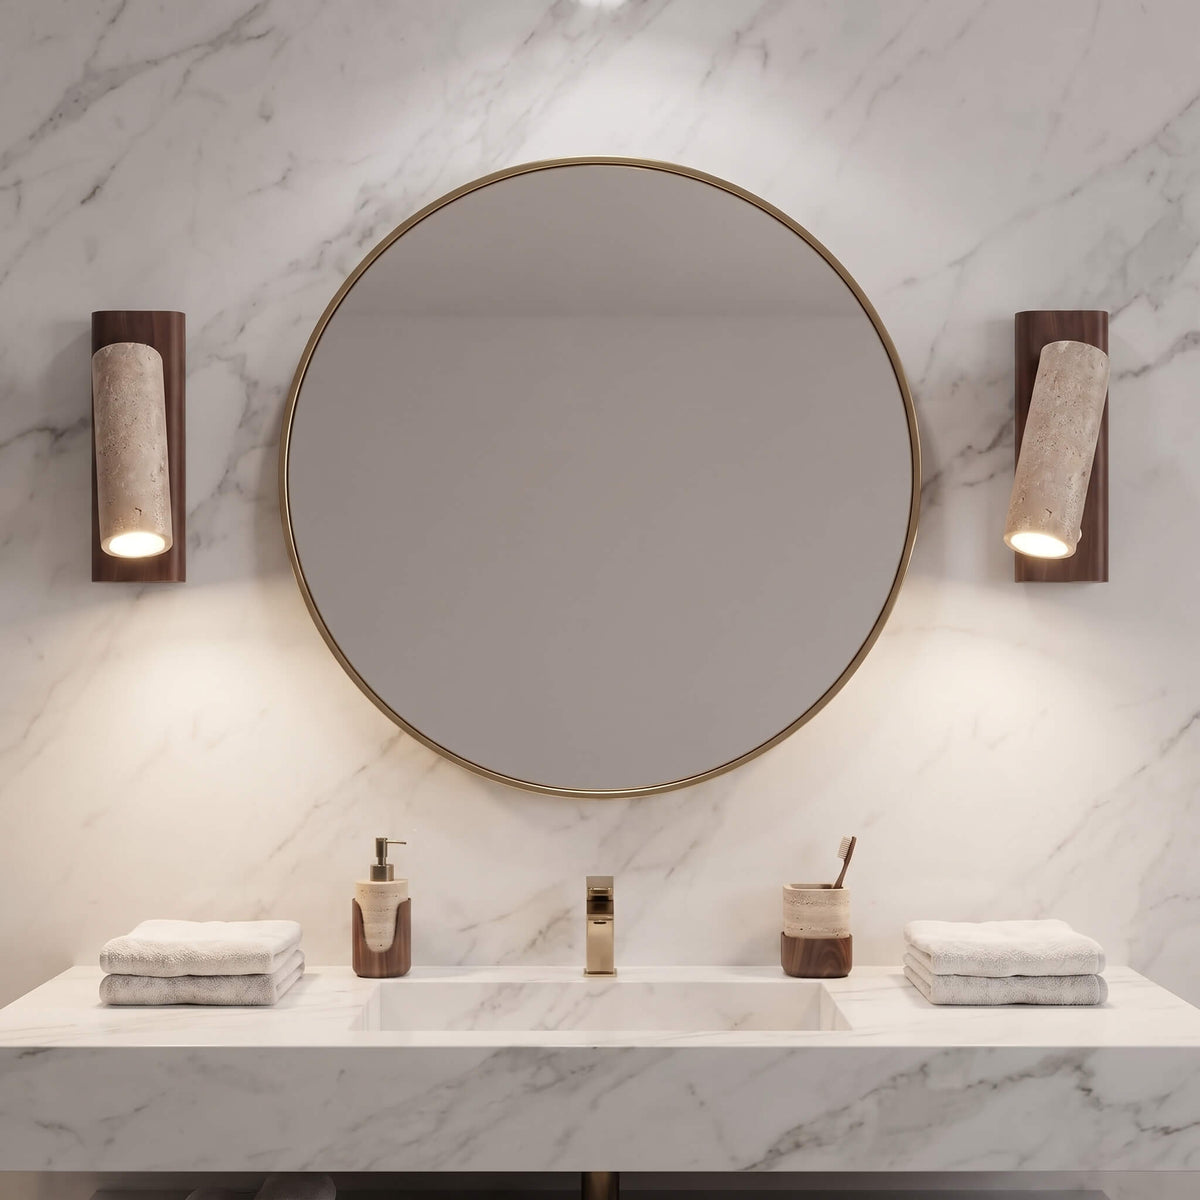
This wabi-sabi wall lamp pairs a genuine travertine stone shade with a warm walnut wood bracket, bringing the quiet beauty of natural materials to any wall it occupies. The cylindrical stone shade diffuses warm light softly downward, casting a glow that flatters a bedroom, hallway, or reading nook. The built-in switch means no fumbling for a cord in the dark, and the rotating bracket lets you direct the light exactly where you need it.
Natural stone variation means no two lamps are identical. Each one is quietly its own.
Key Features
- Genuine travertine stone shade with natural texture and variation
- Warm walnut wood rotating bracket for directional light control
- Built-in switch for easy on and off without leaving bed
- Soft, downward-facing warm white light for a cosy, ambient feel
- Wabi-sabi aesthetic that suits minimalist, Japandi, and organic modern interiors
- Suits bedrooms, hallways, living rooms, and reading nooks
Size & Specifications
| Specification | Details |
|---|---|
| Shade Material | Travertine stone |
| Bracket Material | Walnut wood |
| Shade Style | Cylindrical |
| Colour Temperature | Warm white |
| Switch Type | Built-in rotary switch |
| Bracket | Rotating for directional light |
| Installation | Hardwired |
| Dimmable | Yes, with compatible dimmer |
| Bulb Included | Yes |
| Installation Hardware | Included |
Note: As a natural stone product, variation in colour, veining, and texture between pieces is normal and part of what makes each lamp genuinely unique.
Returns and Refunds
At Muyva, your satisfaction comes first. We offer 30 day easy returns from the day your order arrives.
- Items must be unused and returned in original packaging
- No restocking fees
- Free returns for damaged, defective, or incorrect items
- For change-of-mind returns, customers cover return shipping
- Refunds are processed within 7 business days after inspection
View our full Refund Policy
Need help? Email us at info@muyva.com
Shipping and Delivery
At Muyva, we offer free shipping on all orders and work with trusted carriers to ensure safe and timely delivery.
- Free shipping on all orders (no minimums)
- Order processing: 1–2 business days (Monday–Friday)
- Transit Time: 3–7 business days after dispatch
- Estimated delivery: 4–9 business day total delivery
- Orders placed after our daily cutoff are processed the next business day
- Tracking details are emailed as soon as your order ships
- Please note that large or bulky items may take longer to arrive.
Delivery times are estimates and may vary slightly due to carrier or regional factors.
View our full Shipping Policy
Track your order anytime on our Order Tracking Page
Need help? Email us at info@muyva.com
Frequently Asked Questions
Is shipping free?
Yes. We offer free shipping on all orders within Australia, with no minimum spend required.
How long will delivery take?
Orders are processed within 1 to 2 business days. Once dispatched, estimated delivery is 3 to 7 business days. Total estimated timeframe from order to delivery is 4 to 9 business days.
How do I track my order?
Once your order has shipped, you will receive an email with your tracking number and a link to follow your delivery in real time.
What if my order arrives damaged or faulty?
Damaged, defective, or incorrect items are free to return, and refunds are typically processed within 7 business days after inspection.
How do I get in touch
Email us at info@muyva.com. We aim to respond within 1 to 2 business days, Monday to Friday.